
Debian 9 (Stretch) release candidate 3 (RC3) is available since April 10th, 2017. Debian 9 RC3 is still a “testing” release (not recommended for production servers). Which is the release date of stable Debian 9? “When it’s ready” is the Debian answer. But, as Full freeze announced on February 5th, 2017 we can suppose that the final stable release will be available in about six months (mid of 2017). Please, note that no major differences are added after Full freeze (only bug fixes).
There are two very important changes in Debian 9 (Stretch):
- PHP 7 is the default PHP version
In addition to the new features, version 7 of PHP is much more faster than PHP 5.6. - MariaDB is the default MySQL flavor
So, it is crucial to test your projects, probably based on php 5.* and MySQL, in order to use Debian 9 official release in your server.
For this purpose, I setup Debian 9 RC3 in a virtual machine
using Virtualbox. As MariaDB is a drop-in replacement
for MySQL, moving to MariaDB seems to be easy. Use
mysqldump to export your databases and then import
them to MariaDB. You may encounter some problems moving to php7, depending on your php code. But
generally, the migration is not so difficult. Below I describe my
experience.
Base system installation
Debian 9 RC3 can be downloded from this page. I downloaded the netinst amd64 ISO image from here (generally 150-280 MB).
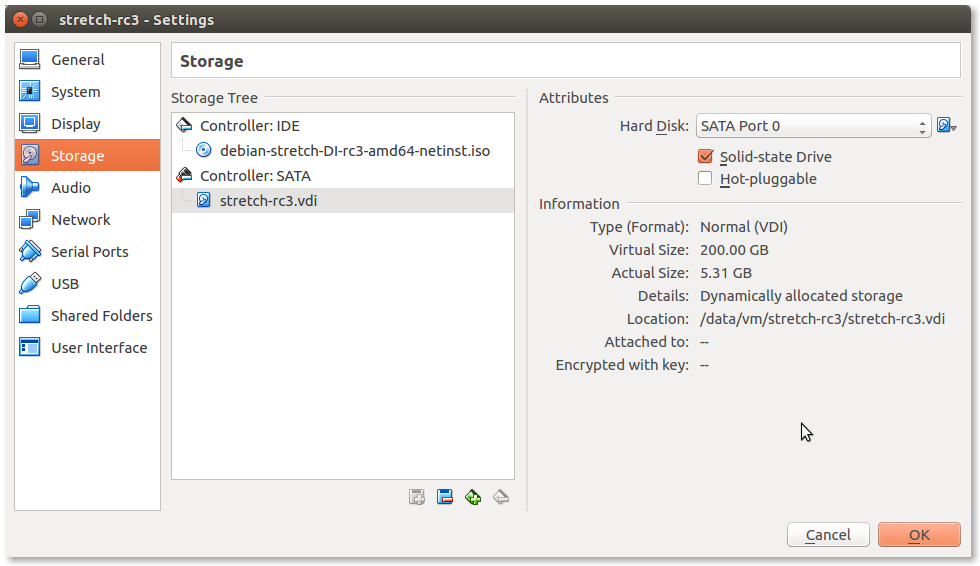
I created a Virtualbox with 200GB disk. The downloaded CD image must be attached to created virtualbox:
I prefer “bridged” network adapter:

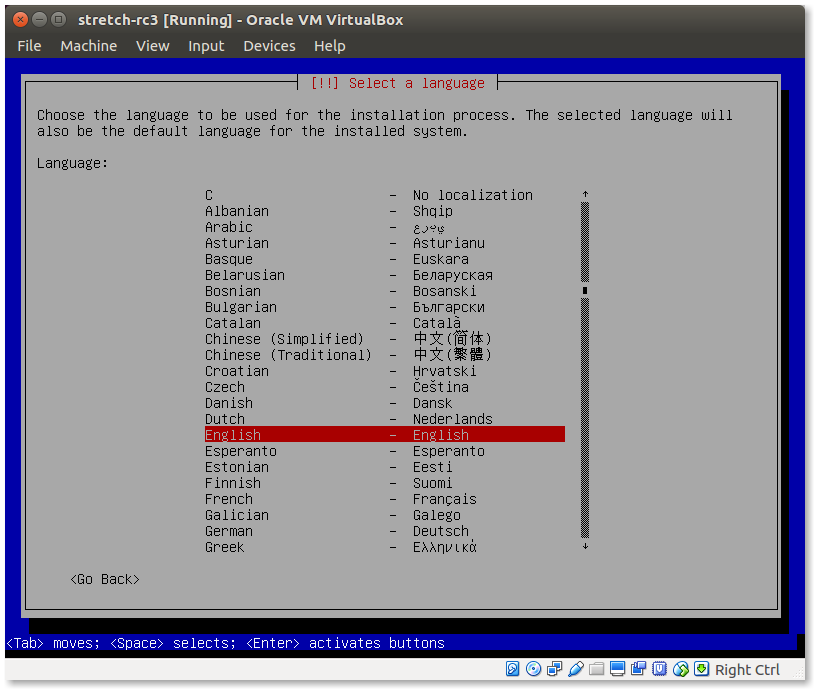
Start the virtual machine. It will boot from CD, so the Debian installation will start. See the screenshots below.
Start installation
Power on virtual machine will start Debian setup. Select boot from CD (pressing F12 during start-up.

Settings
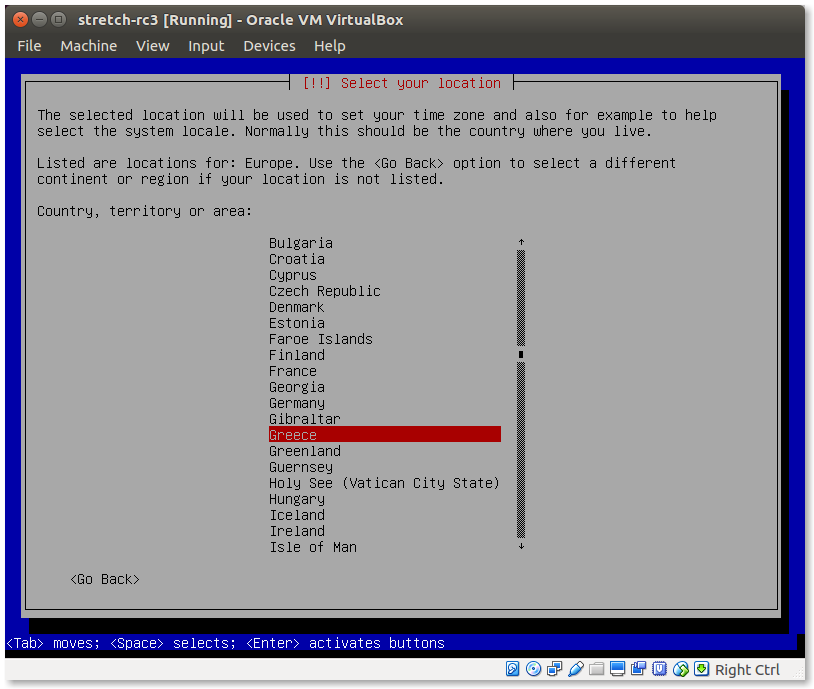
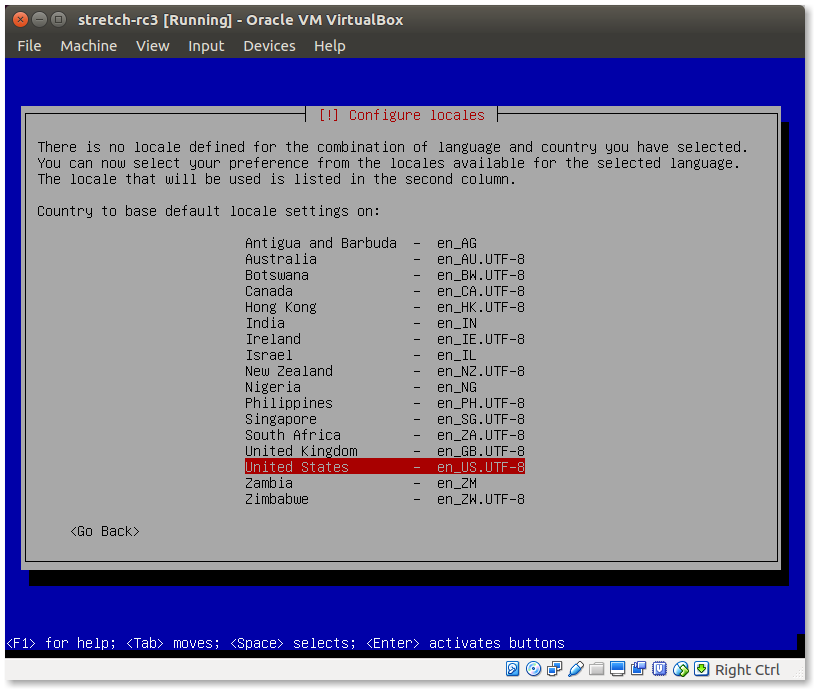
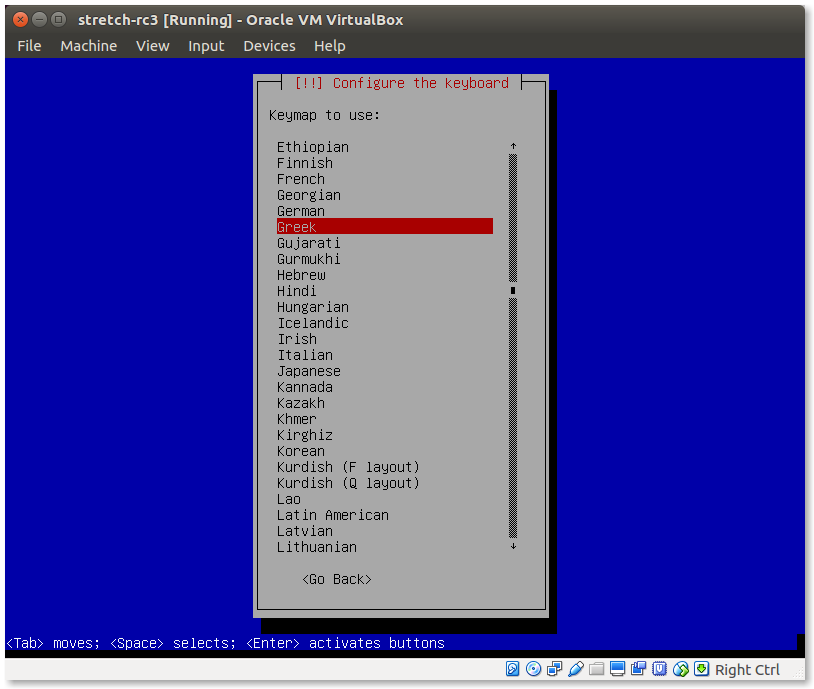
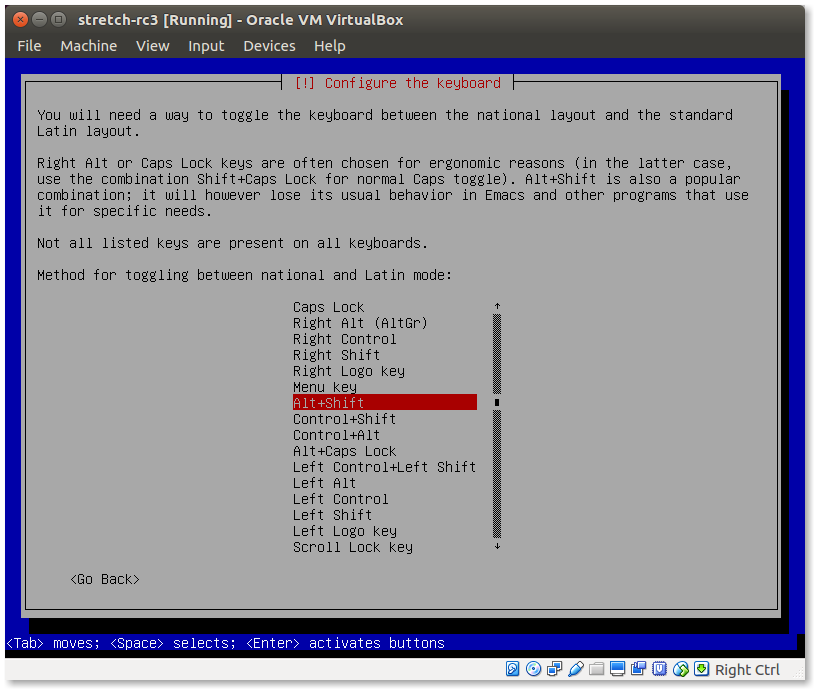
Configure language, location and keyboard.
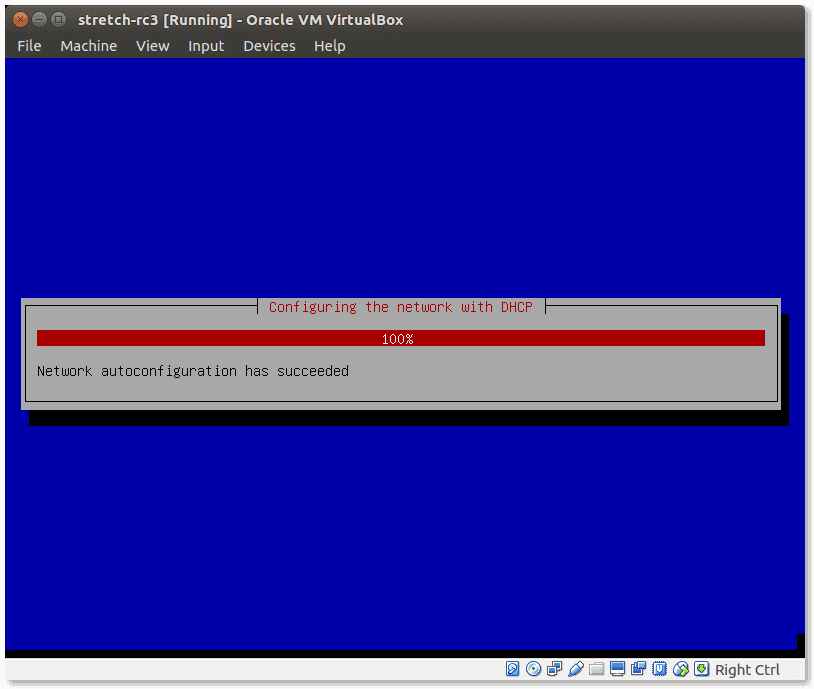
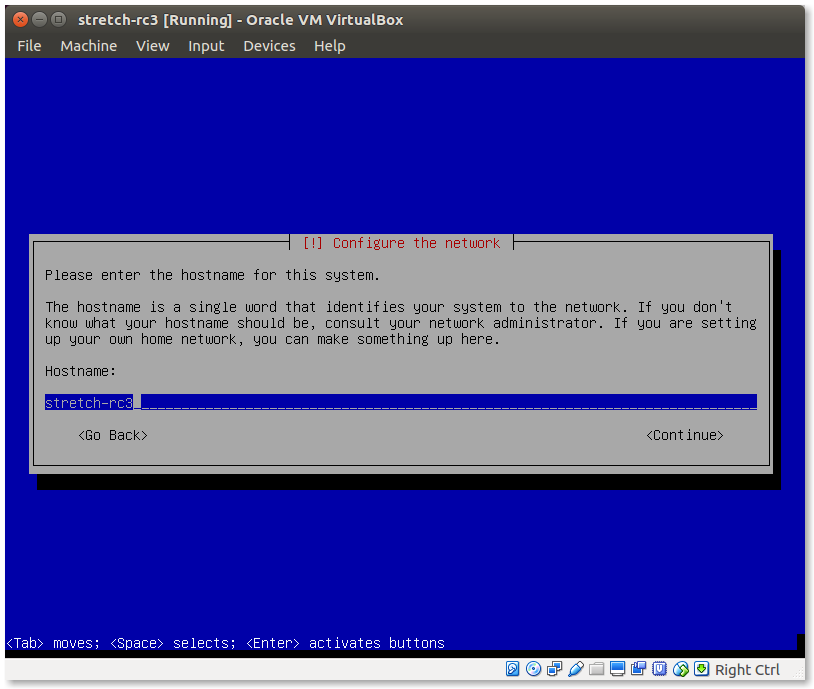
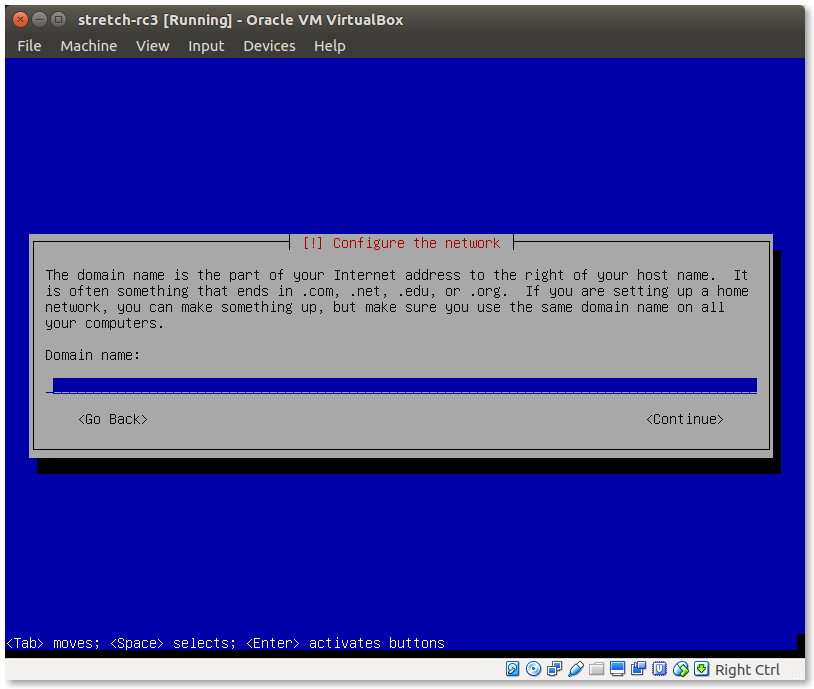
Network
DHCP auto configuration, set Hostname and Domain
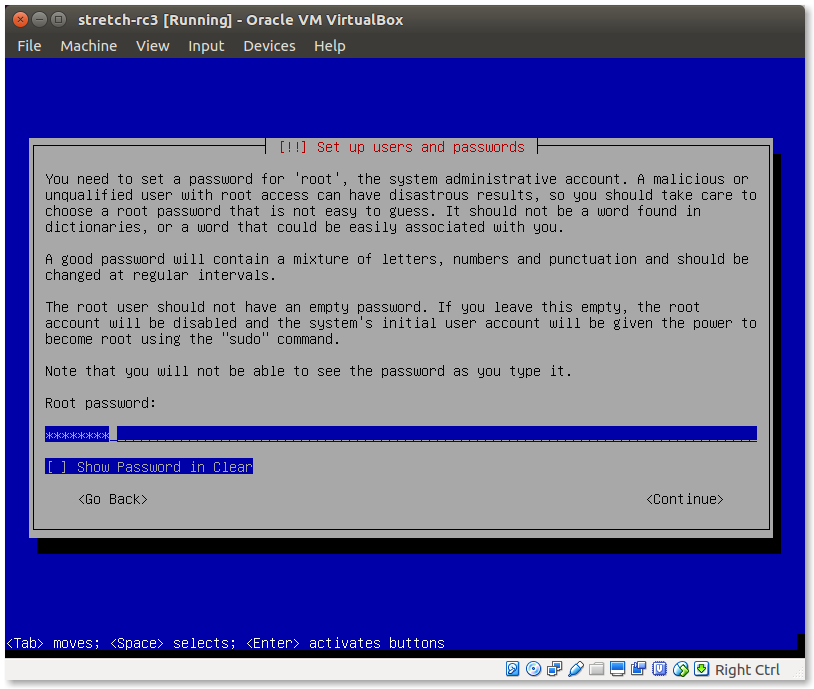
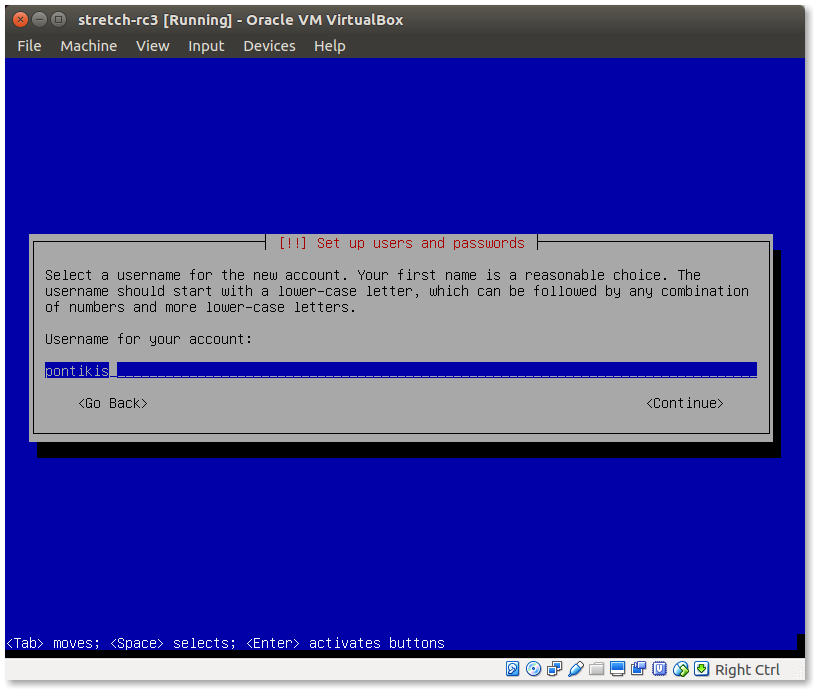
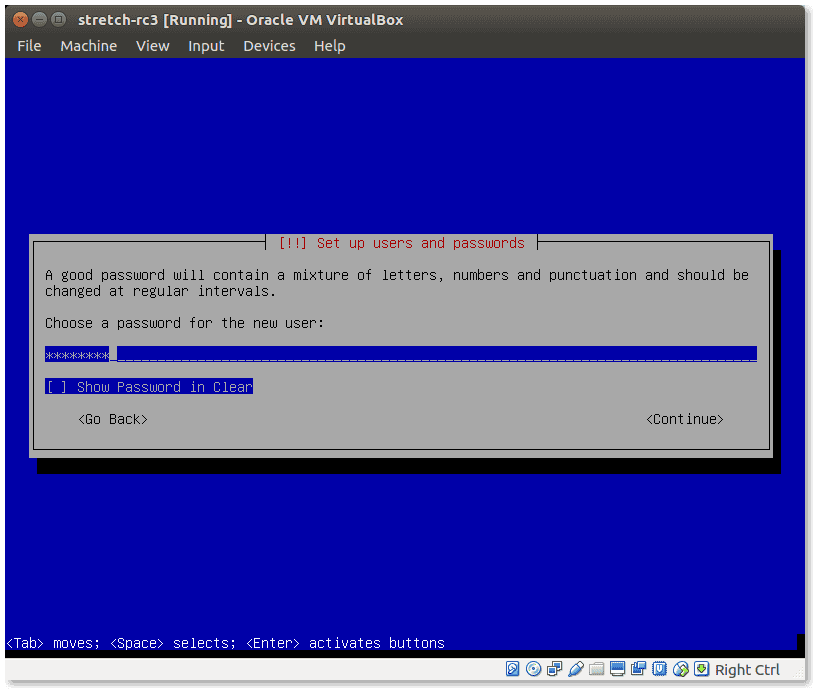
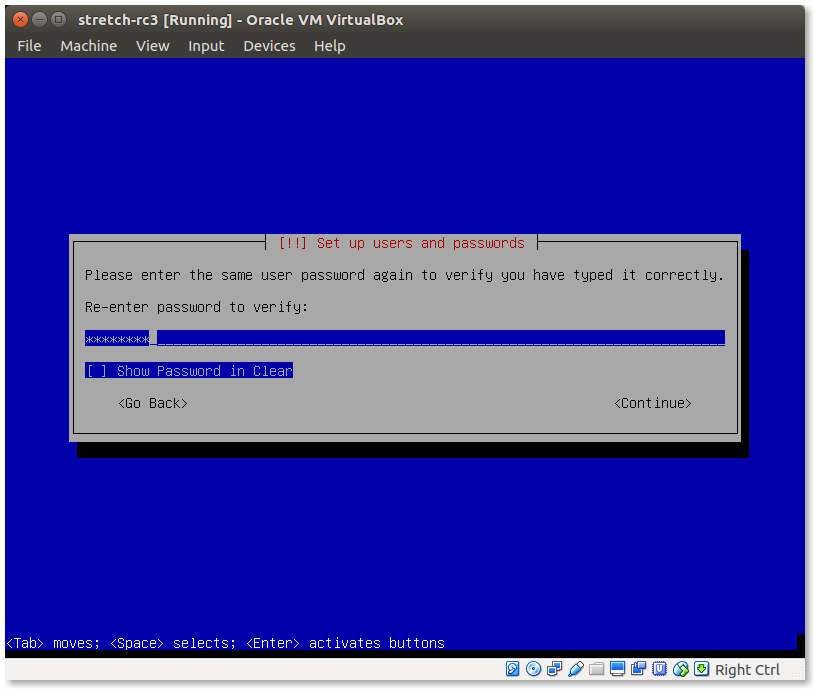
Users
Set root password and create a common user.
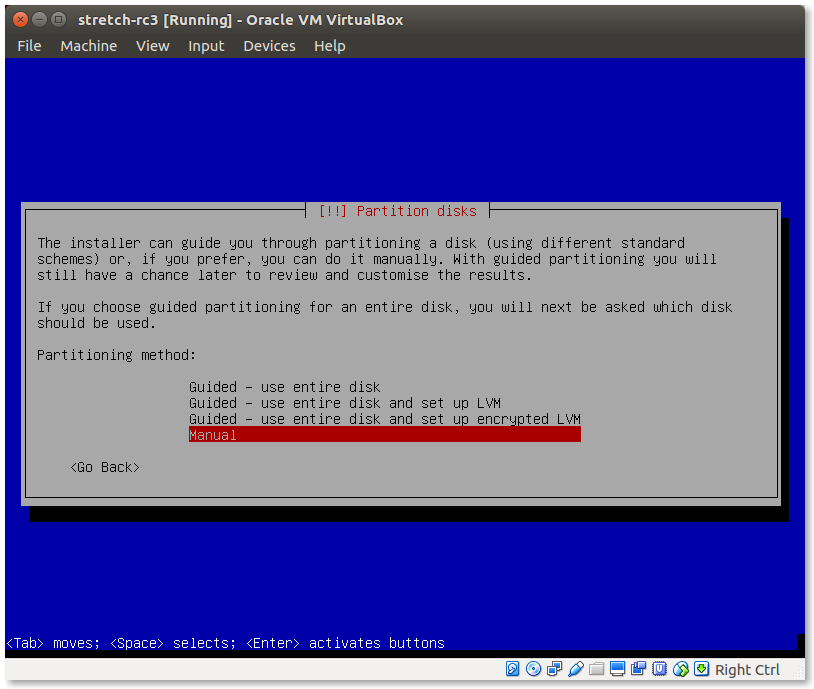
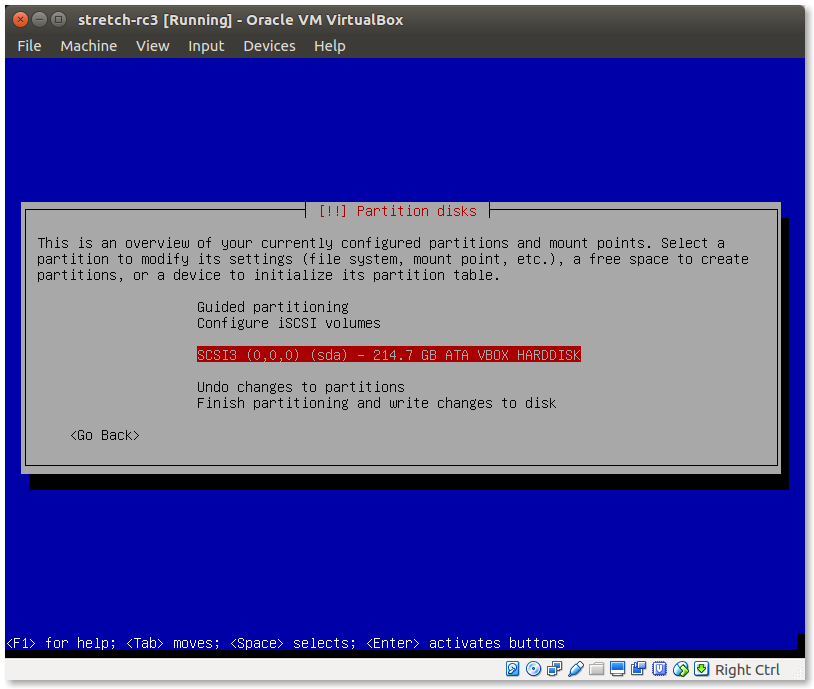
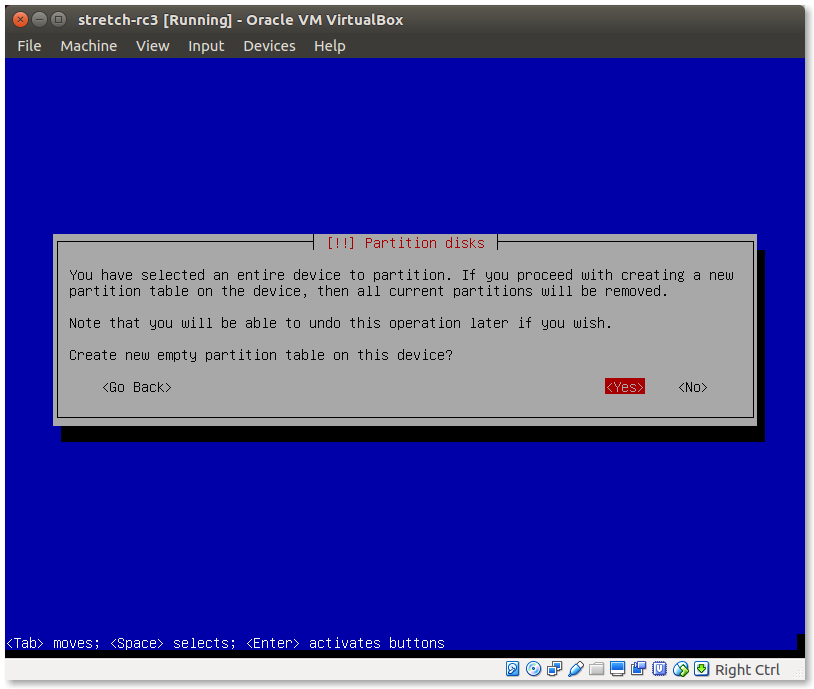
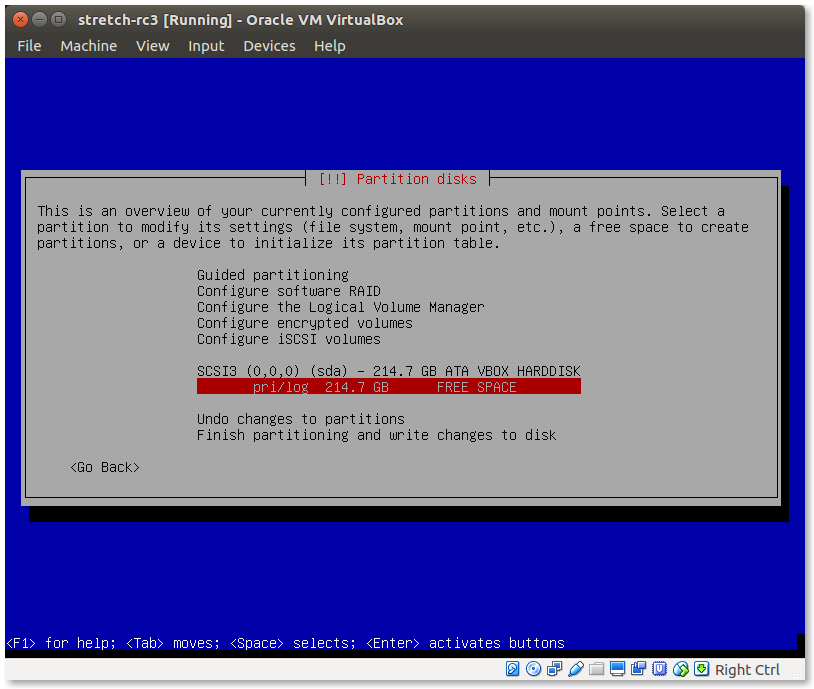
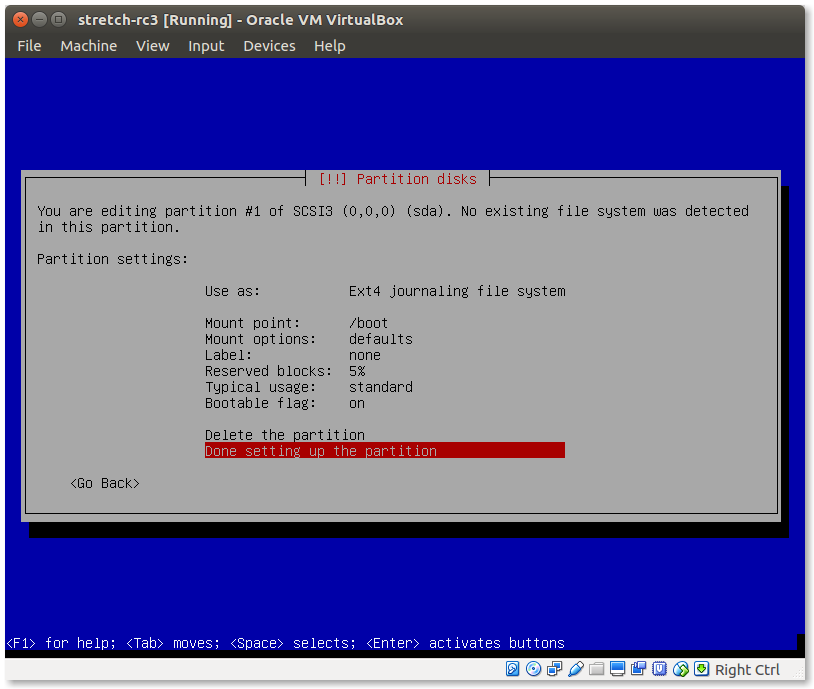
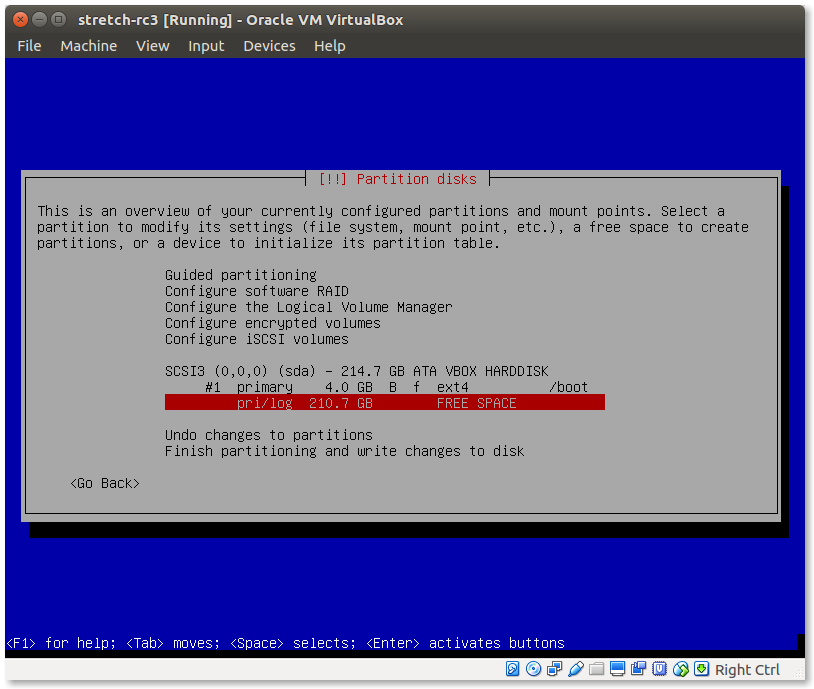
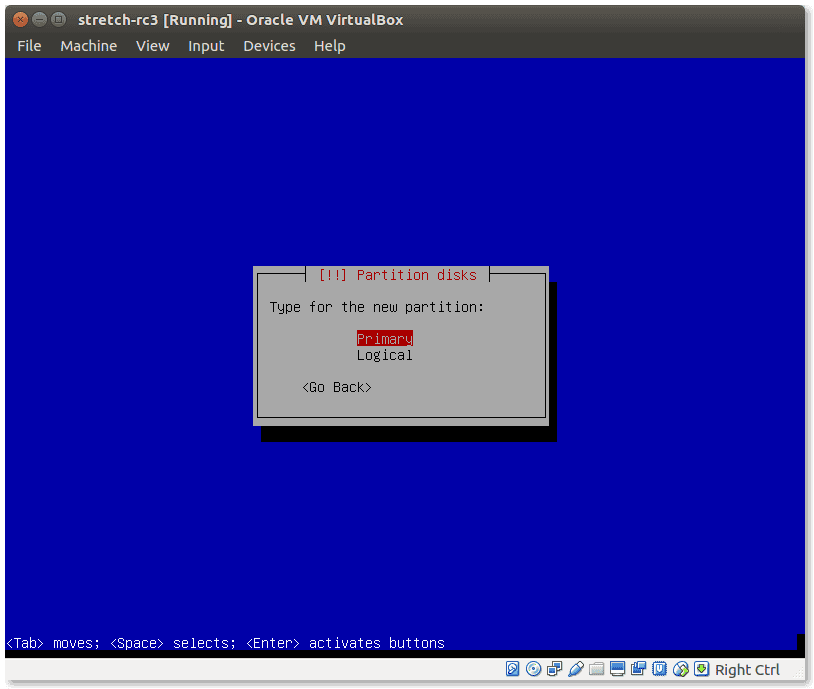
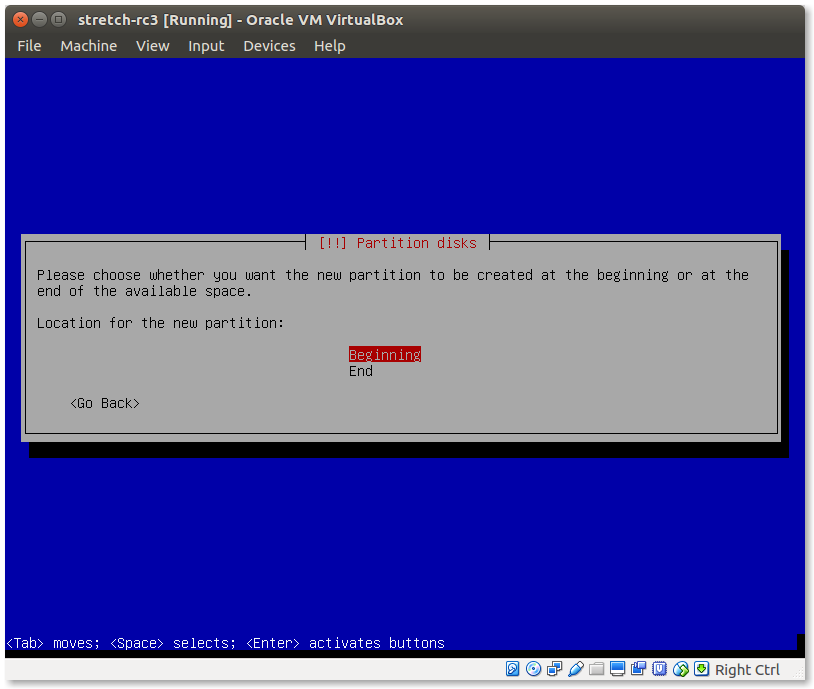
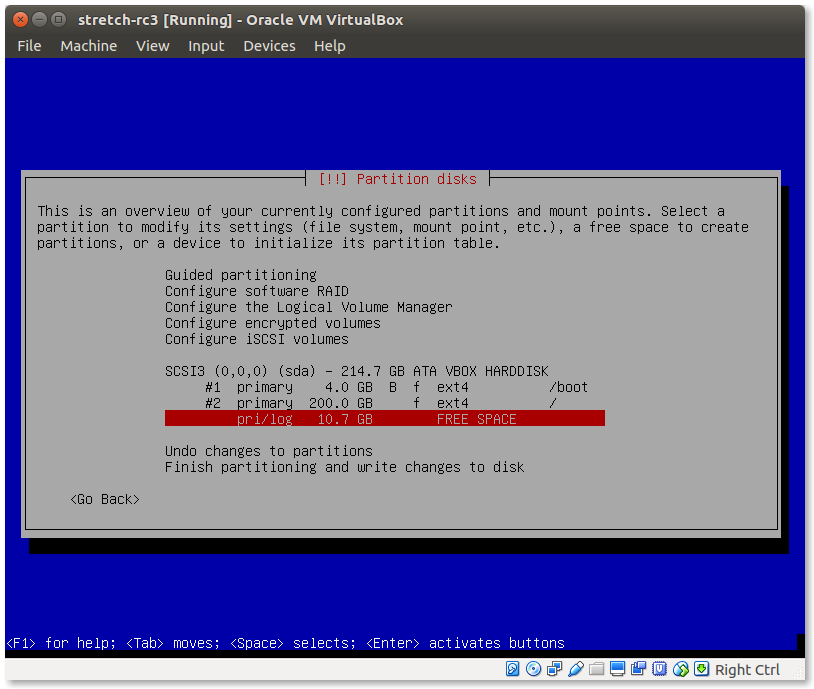
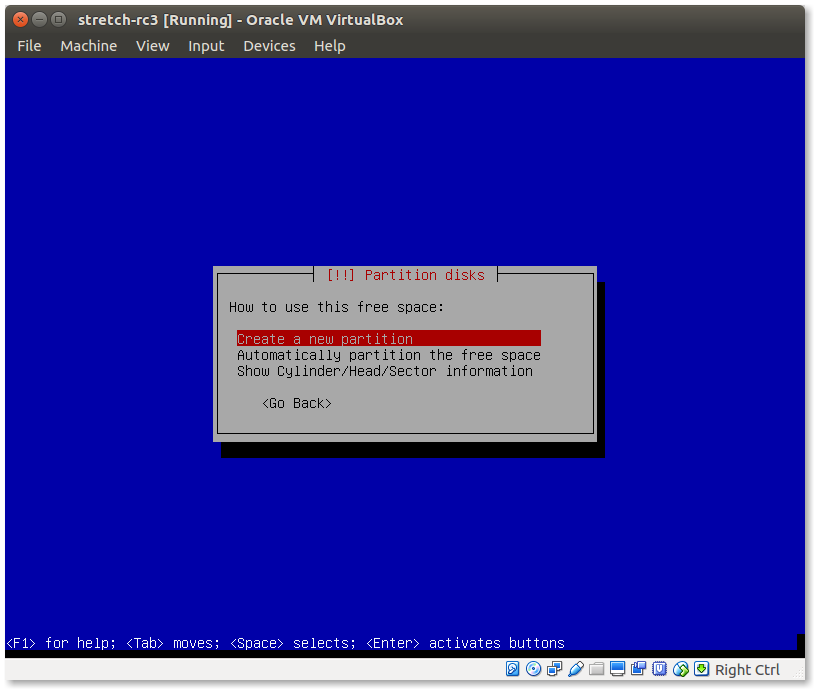
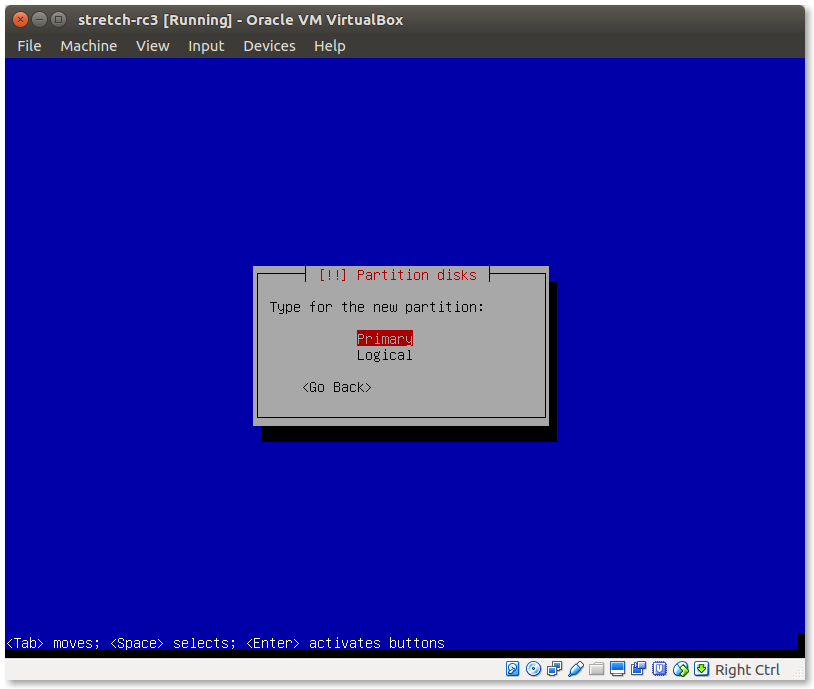
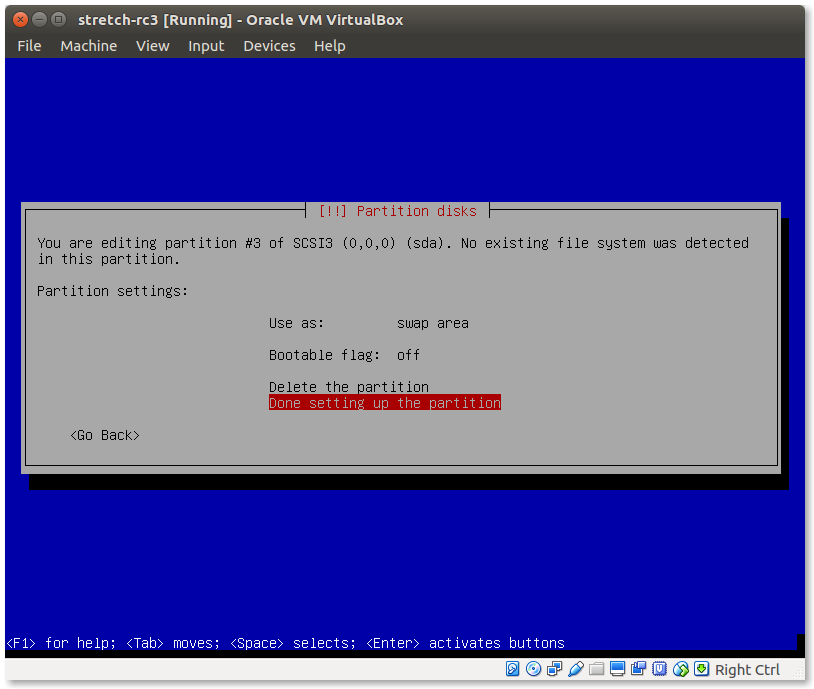
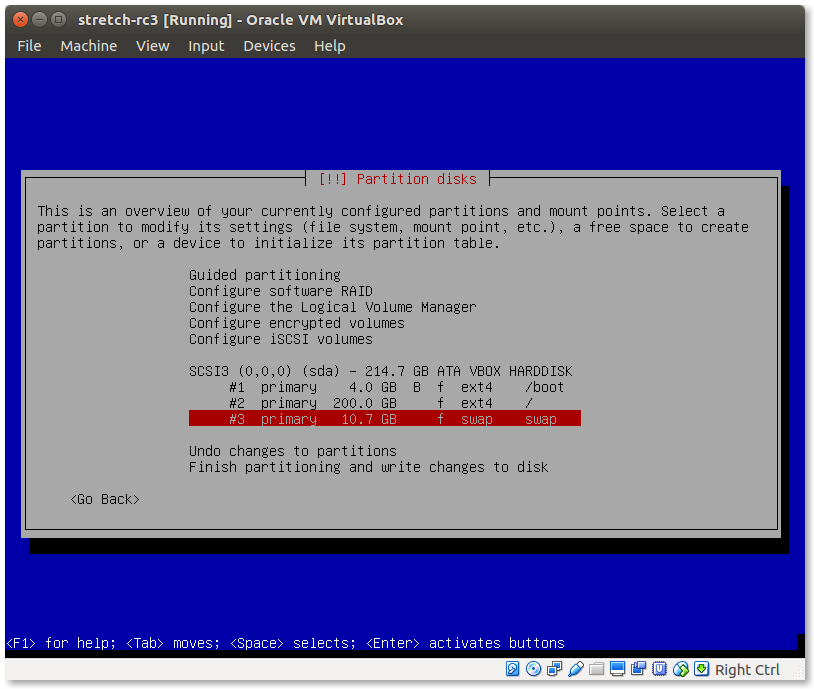
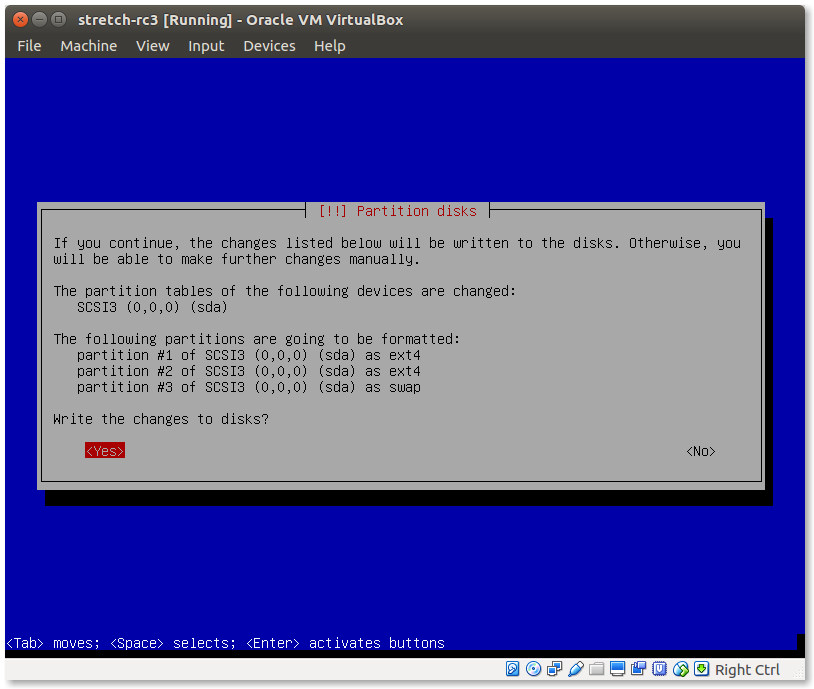
Disk Partitioning
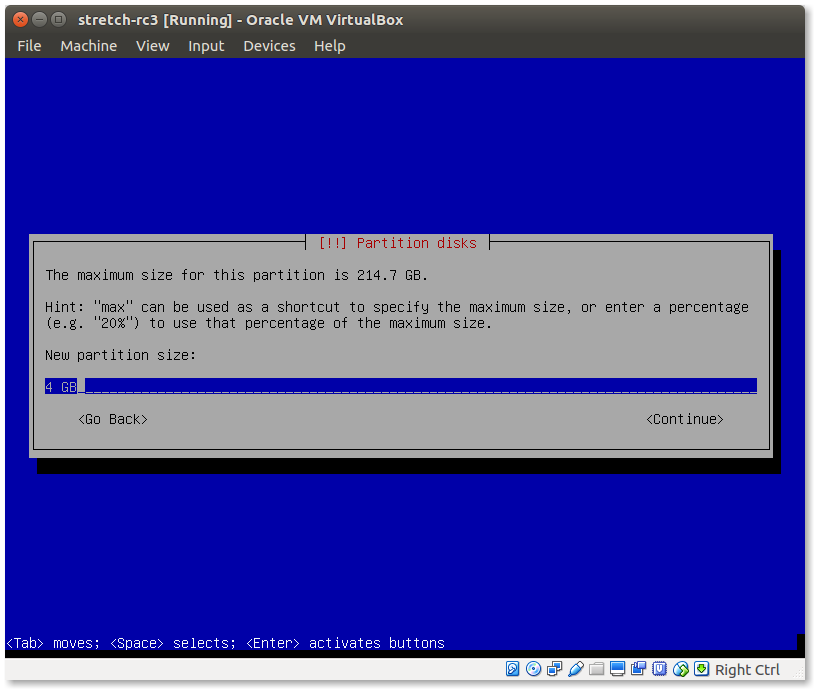
I use EXT4 file system. All partitions are Primary. I prefer to create partitions manually, as following:
- /boot partition 4 GB
- / partition 200 GB
- swap partition the rest of the disk: 10+ GB (usually RAM x 4)
Below is described partition creation in details (please, note: only /boot partition has bootable flag ON).


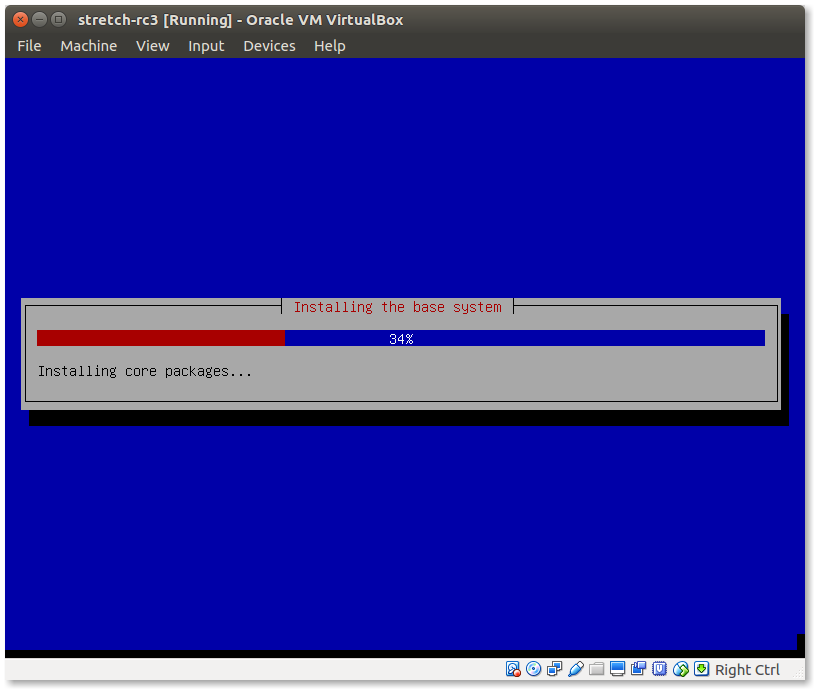
Base system
Installing the base system.
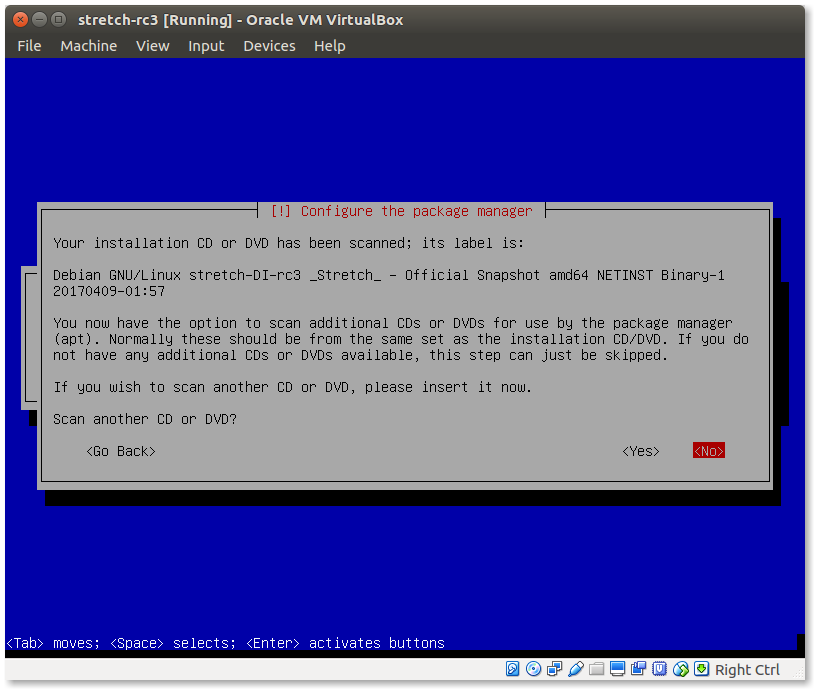
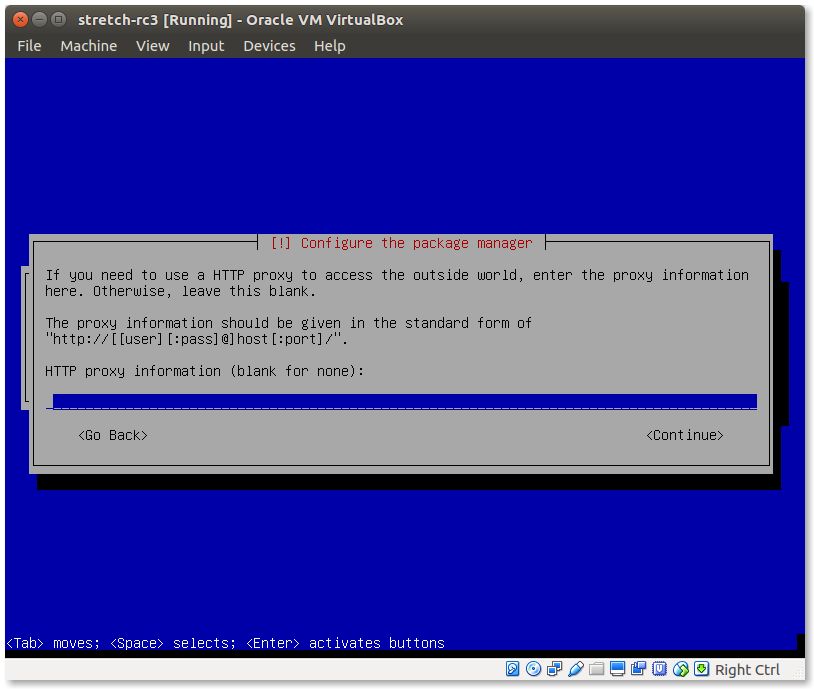
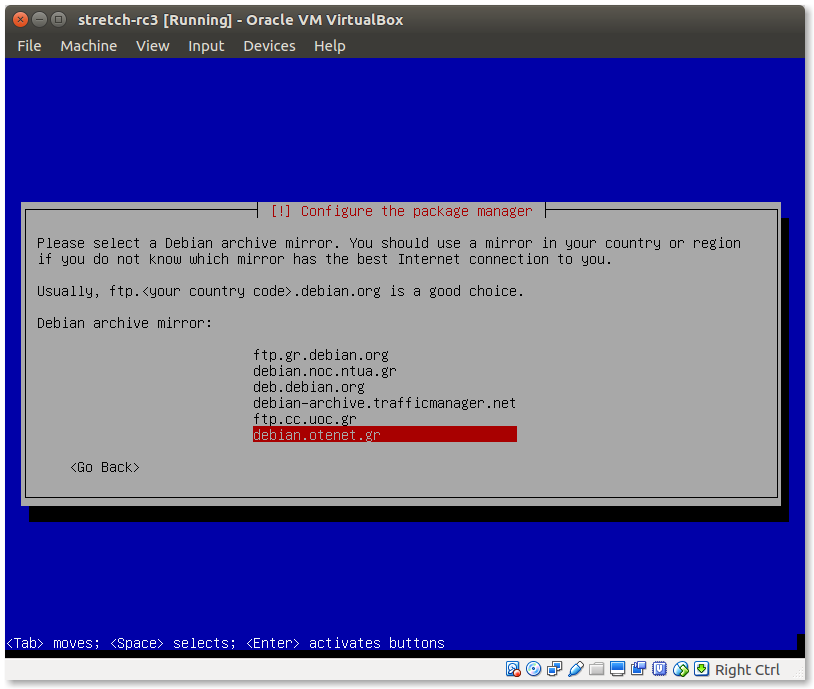
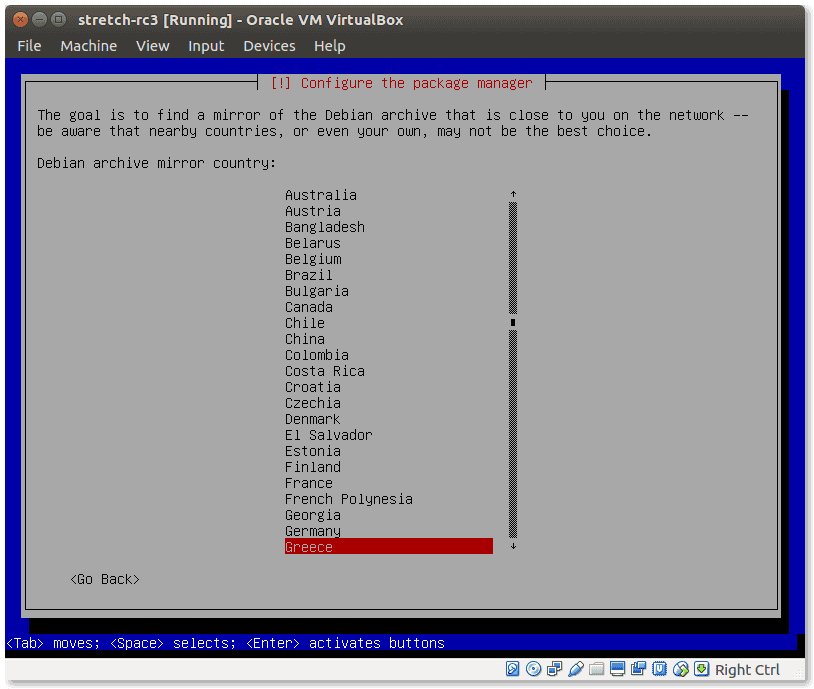
Package manager
Select Debian archive mirror and apt configuration.
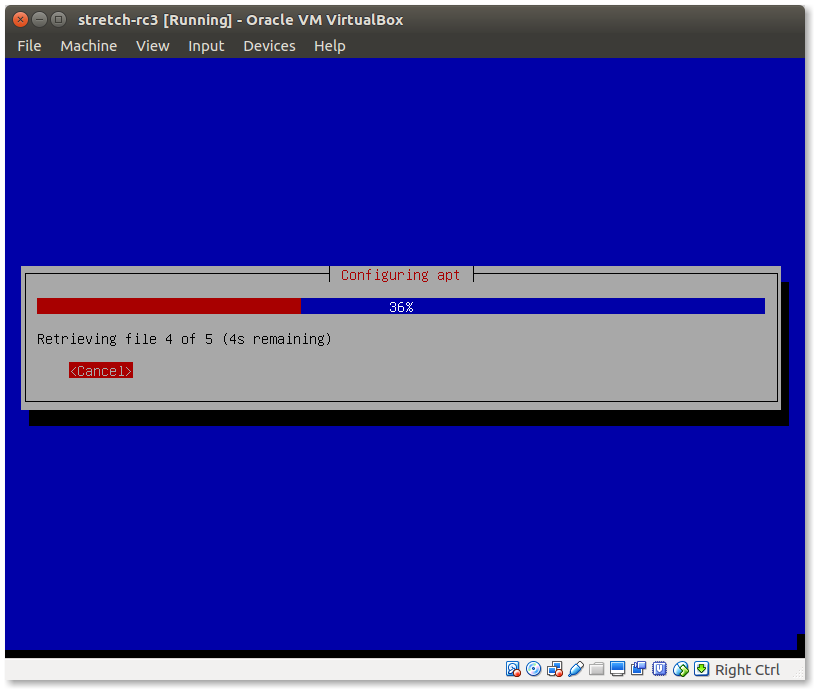
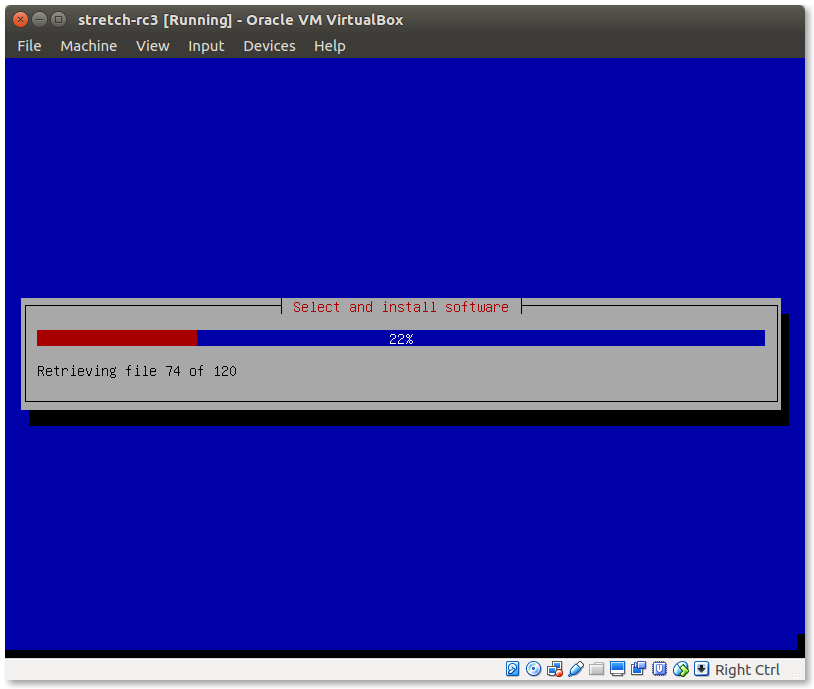
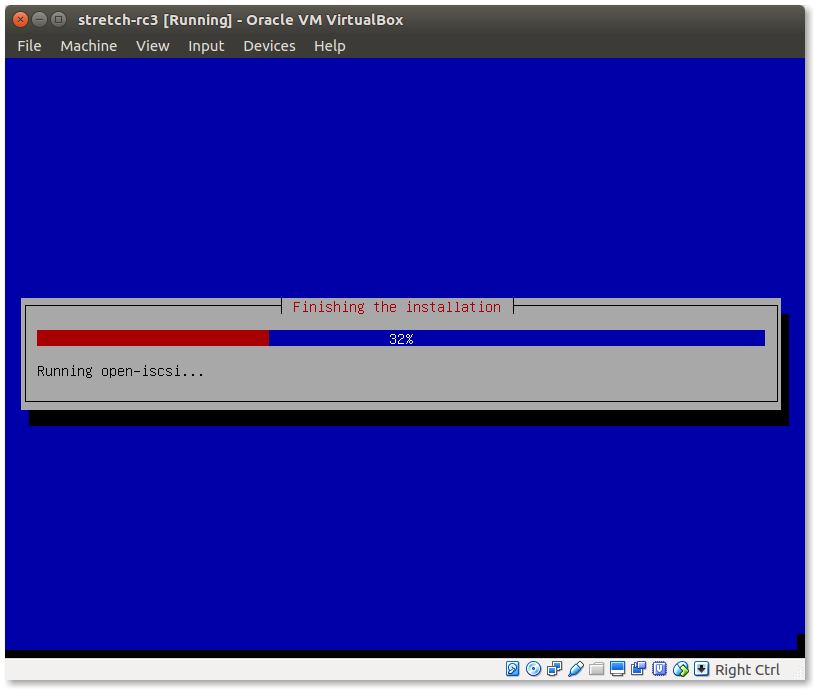
Software installation
Software installation progress.

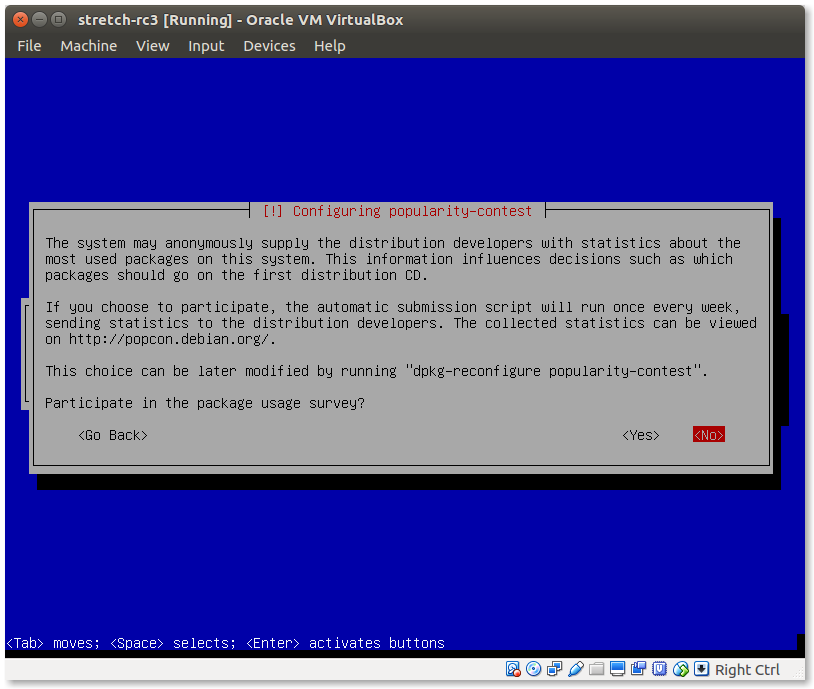
Popularity contest
Choose if you want to participate in Popularity contest.
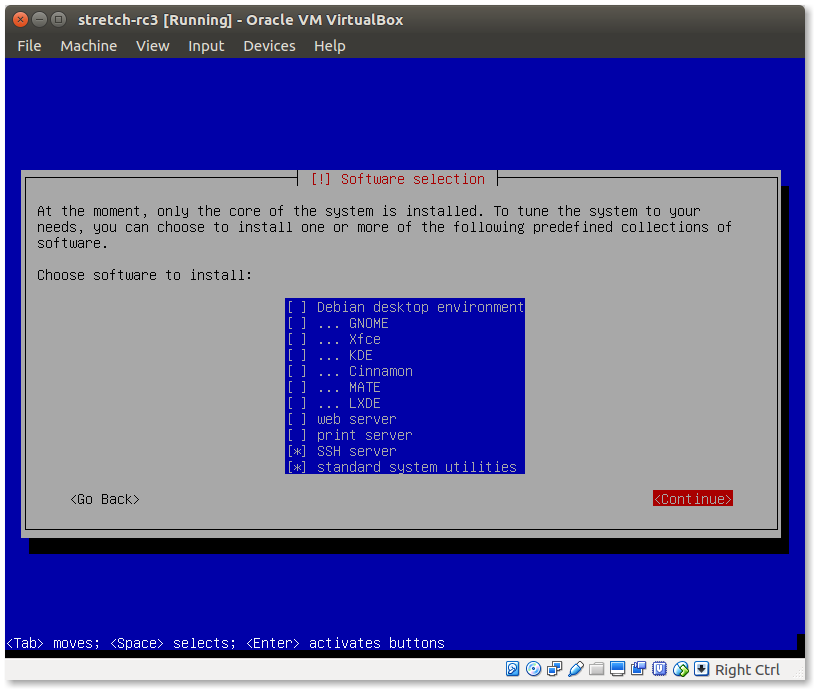
Select additional software
After the installation of core system, additional software could be selected for installation. This is a server system, so only SSH server and Standard system utilities have been selected. Any additional software (web server, database server etc) will be installed manually after base installation (see below).
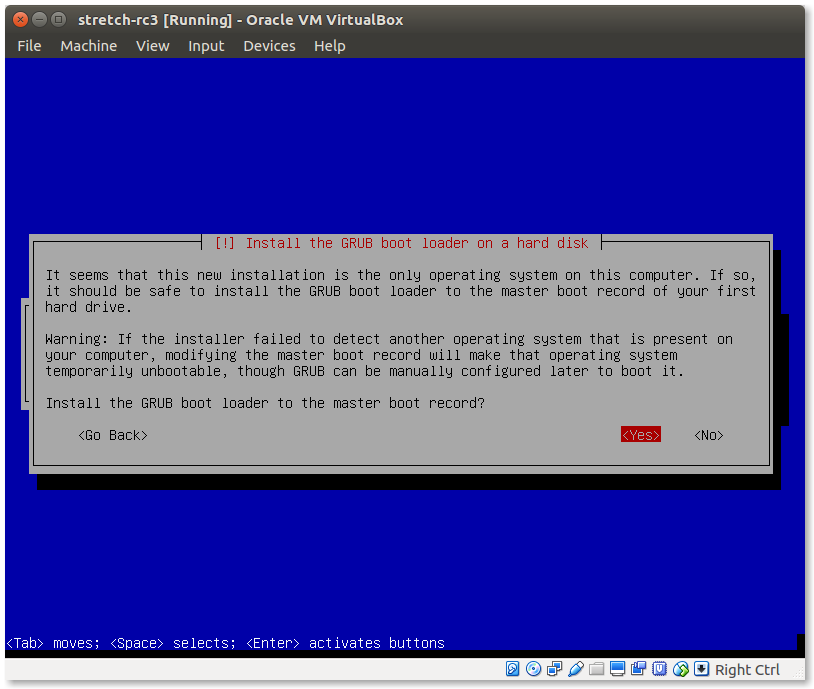
Grub boot loader
Grub boot loader installation.

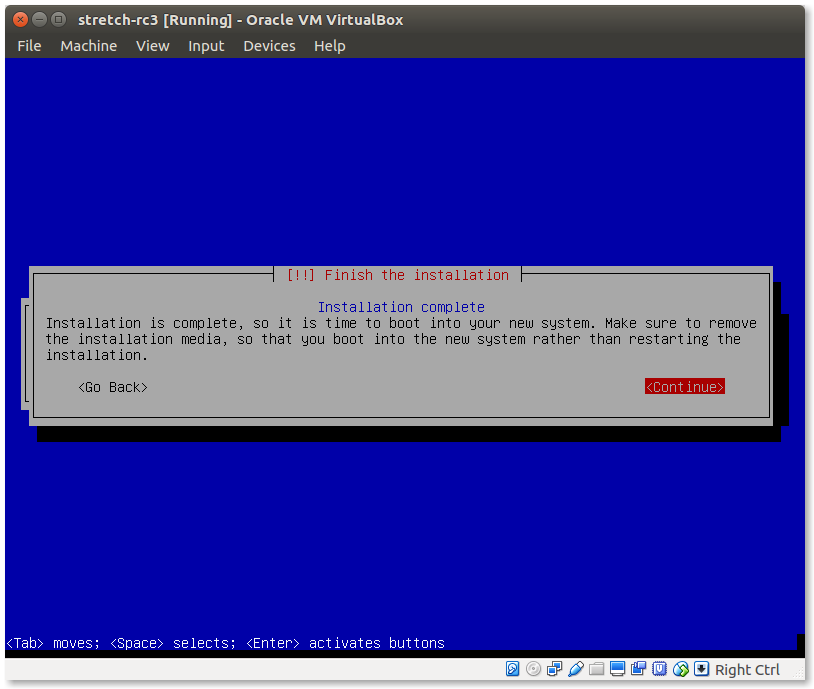
Finish installation
Base Setup is finished. Reboot and login for first time.

This was the
"base system" setup. From this point, I will customize the server
according to my needs (LAMP setup etc).
Add static IP
The ifconfig command (included in
net-tools package) has been deprecated, so it is missing
by default on Debian, starting from Debian 9 (Stretch). To get the
IP address you have to use the ip command.
pontikis@stretch-rc3:~$ ip a
1: lo: <LOOPBACK,UP,LOWER_UP> mtu 65536 qdisc noqueue state UNKNOWN group default qlen 1
    link/loopback 00:00:00:00:00:00 brd 00:00:00:00:00:00
    inet 127.0.0.1/8 scope host lo
       valid_lft forever preferred_lft forever
    inet6 ::1/128 scope host
       valid_lft forever preferred_lft forever
2: enp0s3: <BROADCAST,MULTICAST,UP,LOWER_UP> mtu 1500 qdisc pfifo_fast state UP group default qlen 1000
    link/ether 08:00:27:4e:4c:15 brd ff:ff:ff:ff:ff:ff
    inet 192.168.1.3/24 brd 192.168.1.255 scope global enp0s3
       valid_lft forever preferred_lft forever
    inet6 2a02:587:a012:e000:a00:27ff:fe4e:4c15/64 scope global mngtmpaddr dynamic
       valid_lft 46155sec preferred_lft 46155sec
    inet6 fe80::a00:27ff:fe4e:4c15/64 scope link
       valid_lft forever preferred_lft forever
So, to change the autoconfigured with DHCP IP 192.168.1.3 to static 192.168.1.103:
Login as root. Then
nano /etc/network/interfaces
replace this
# This file describes the network interfaces available on your system
# and how to activate them. For more information, see interfaces(5).

source /etc/network/interfaces.d/*

# The loopback network interface
auto lo
iface lo inet loopback

# The primary network interface
allow-hotplug enp0s3
iface enp0s3 inet dhcp
# This is an autoconfigured IPv6 interface
iface enp0s3 inet6 auto
with
# This file describes the network interfaces available on your system
# and how to activate them. For more information, see interfaces(5).

source /etc/network/interfaces.d/*

# The loopback network interface
auto lo
iface lo inet loopback

# The primary network interface
#allow-hotplug enp0s3
#iface enp0s3 inet dhcp

auto enp0s3
iface enp0s3 inet static
    address 192.168.1.103
    broadcast 192.168.1.255
    netmask 255.255.255.0
    gateway 192.168.1.1

# This is an autoconfigured IPv6 interface
#iface enp0s3 inet6 auto
Finally, restart the network:
systemctl restart networking.service
Connect using SSH
From workstation computer:
ssh 192.168.1.103
then become root to perform administrative tasks
su -l root
Perform a full system update
Using apt-get:
apt-get update && apt-get -V upgrade
Update files database
Install the packages (if not installed):
apt-get install locate mlocate
then
updatedb
Harden SSH
This is optional in a LAN machine. Anyway, edit SSH configuration:
nano /etc/ssh/sshd_config
Make the following changes
...
PermitRootLogin no
...
X11Forwarding no
...
AllowUsers your_user_name ...
...
Restart SSH
systemctl restart ssh.service
SSH key based authentication
First, generate a new SSH key
cd ~/.ssh
ssh-keygen -t rsa -b 4096 -C "your_email_here"
To connect from workstation to server machine, add your public key to server.
ssh-copy-id -i ~/.ssh/id_rsa.pub 192.168.1.103
Color Bash Prompt
To add color to common user prompt:
cd /home/pontikis
nano .bashrc
uncomment #force_color_prompt=yes
...
force_color_prompt=yes
...
To add red color to root prompt:
cd /root
nano .bashrc
Set PS1 as follows:
PS1='${debian_chroot:+($debian_chroot)}[�33[01;31m]u@h[�33[00m]:[�33[01;34m]w[�33[00m]$ '
Also, find # You may uncomment the following lines if you want `ls’ to be colorized: and uncomment the following lines
To see the changes you have to logoff and login again, or go to home and give
. .bashrc
Set default text editor
nano in my case:
update-alternatives --config editor
result:
There are 4 choices for the alternative editor (providing /usr/bin/editor).

  Selection    Path                Priority   Status
------------------------------------------------------------
* 0            /bin/nano            40        auto mode
  1            /bin/nano            40        manual mode
  2            /usr/bin/mcedit      25        manual mode
  3            /usr/bin/vim.basic   30        manual mode
  4            /usr/bin/vim.tiny    10        manual mode

Press <enter> to keep the current choice[*], or type selection number:
Customize nano text editor
To dislpay line numbers, uncomment # set constantshow
nano /etc/nanorc
## Constantly display the cursor position in the statusbar.  Note that
## this overrides "quickblank".
# set constantshow
set constantshow
## (The old form, 'const', is deprecated.)
Install ntp (Network Time Protocol)
Using apt-get
apt-get install ntp
Install webmin
You have to know the original Linux commands to perform all administrative tasks from command line. However, a control panel makes things easier sometimes. Webmin is a free and Open Source control panel basically for Linux. Webmin is a very powerful tool, but I use it mainly for the following tasks:
- users management
- iptables firewall
- scheduled cron jobs
So, create a file like
nano /etc/apt/sources.d/webmin.list
and add the following lines
deb http://download.webmin.com/download/repository sarge contrib
Add apt key:
cd /root
wget http://www.webmin.com/jcameron-key.asc
apt-key add jcameron-key.asc
Finally
apt-get update
apt-get install apt-transport-https
apt-get install webmin
Install exim4 MTA
Using apt-get:
apt-get install exim4
Configure exim
This is a local machine, so you must use “smarthost”. See Gmail smarthost with Exim4 on Debian for details.
Forward root mail
It is important as various software and services send mail to inform root for results or errors (cron for example).
nano /etc/aliases
...
root:your_email_gere
Then, rebuild aliases:
newaliases
Install git (optional)
Using apt-get:
apt-get install git
Display basic configuration
git config --list
Set basic settings
git config --global user.name 'Your Name'
git config --global user.email you@example.com
git config --global core.editor "nano"
Configure Git to properly handle line endings:
git config --global core.autocrlf input
Various tools (optional)
Using apt-get:
apt-get install mc p7zip-full htop
Wipe is useful to secure delete files.
apt-get install wipe
Get email notifications for updates
Install apticron to get email notifications for updates
apt-get install apticron
Check which services need restart after an update
apt-get install needrestart
READ DETAILS in this post: When to Restart Services or Reboot after Update on Debian or Ubuntu
Next part is
LAMP (Linux, Apache, MySQL, PHP) setup. Additionally I describe
Postgresql setup (optional) and memcached setup
(optional).
MariaDB database server
Using apt-get:
apt-get install mariadb-server
(this will also install mariadb-client)
After installation, run:
mysql_secure_installation
mysql_secure_installation sets a root password (if not exists), removes anonymous users, disables non-local root access, removes the test database and access rules related to it and finally reloads privileges.
Restart MariaDB
systemctl restart mariadb.service
Configure connection mode – IMPORTANT
At this time, when you will try to connect to MariaDB (or MySQL) you will note something “strange”:
- If you are root on your server, you may connect
DIRECTLY to MariaDB (or MySQL) root account without any
password, even you have defined a password. The command
mariadb(ormysql) is enough:root@stretch-rc3:~# mariadb Welcome to the MariaDB monitor. Commands end with ; or g. Your MariaDB connection id is 10 Server version: 10.1.22-MariaDB- Debian 9.0 Copyright (c) 2000, 2016, Oracle, MariaDB Corporation Ab and others. Type 'help;' or 'h' for help. Type 'c' to clear the current input statement. MariaDB [(none)]>
- A common user in your server cannot connect to MariaDB (or
MySQL) root account using the root password. The command
mariadb -uroot -p(ormysql -uroot -p) will fail:pontikis@stretch-rc3:~$ mariadb -uroot -p Enter password: ERROR 1698 (28000): Access denied for user 'root'@'localhost'
Remark that this error is NOT the error you get when you give a wrong password:
ERROR 1045 (28000): Access denied for user 'root'@'localhost' (using password: YES)
The reason for this is: the UNIX_SOCKET plugin (AUTH_SOCKET in MySQL) is installed by default in new installs of Ubuntu 15.10 and later, and Debian 9 Stretch.
Ream more for MariaDB here and for MySQL here.
You have two options in this situation:
- either to modify your php code to connect to MariaDB/MySQL using Operating System user
- or to revert to classic password authentication:
Become root and login to MariaDB/MySQL. Then, execute the query:
update mysql.user set plugin = '' where User='root';
flush privileges;
or (actually the same)
update mysql.user set plugin = 'mysql_native_password' where User='root';
flush privileges;
personally, I chose this solution.
Postgresql database server (optional)
Installation
apt-get install postgresql
(this will also install postgresql-contrib)
Configuration
Set postgres password and configure postgresql.conf and pg_hba.conf
I prefer md5 authentication.
Restart postgres
systemctl restart postgresql.service
Apache web server
Installation
apt-get install apache2
Configuration principles
Default document root: /var/www/html/
Configuration file: /etc/apache2/apache2.conf. DO NOT EDIT this file. Add your configuration to /etc/apache2/conf-available/. Example:
nano /etc/apache2/conf-available/my-config.conf
a2enconf my-config
systemctl restart apache2.service
Apache modules
Enable the modules you need. In my case
a2enmod rewrite
result:
root@stretch-rc3:~# a2enmod rewrite
Enabling module rewrite.
To activate the new configuration, you need to run:
systemctl restart apache2
root@stretch-rc3:~# systemctl restart apache2.service
Configure Virtual Hosts
First modify “default host”. Remember to remove <VirtualHost *:80>
nano /etc/apache2/sites-available/000-default.conf
add
<VirtualHost 192.168.1.103:80>

    ServerName www.dev.lo
    ServerAdmin you@example.com

    DocumentRoot /var/www/html
    <Directory />
        Options FollowSymLinks
        AllowOverride None
    </Directory>
    <Directory /var/www/html/>
        Options -Indexes +FollowSymLinks +MultiViews
        AllowOverride All
                Require all granted
    </Directory>

    <Directory /var/www/html/webadmin>
        Options +Indexes +FollowSymLinks +MultiViews
        AllowOverride All
        Require all granted
    </Directory>

    ErrorLog ${APACHE_LOG_DIR}/error.log

    # Possible values include: debug, info, notice, warn, error, crit,
    # alert, emerg.
    LogLevel warn

    CustomLog ${APACHE_LOG_DIR}/access.log combined

</VirtualHost>
Here is another example (with Gzip Compression):
nano /etc/apache2/sites-available/pnet.dev.lo.conf
add
<VirtualHost 192.168.1.103:80>

    ServerName  pnet.dev.lo
    ServerAdmin you@example.com

    DocumentRoot /var/www/html/pontikis.net

    <Directory /var/www/html/pontikis.net>
        Options -Indexes +FollowSymLinks +MultiViews
        AllowOverride All
        Require all granted
    </Directory>

    ErrorLog ${APACHE_LOG_DIR}/pontikis.net_error.log

    # Possible values include: debug, info, notice, warn, error, crit,
    # alert, emerg.
    LogLevel warn

    CustomLog ${APACHE_LOG_DIR}/pontikis.net_access.log combined

    ErrorDocument 404 /404/

    SetOutputFilter DEFLATE
    SetEnvIfNoCase Request_URI .(?:gif|jpe?g|ico|png)$  no-gzip dont-vary
    SetEnvIfNoCase Request_URI .(?:exe|t?gz|zip|bz2|sit|rar)$ no-gzip dont-vary
    SetEnvIfNoCase Request_URI .pdf$ no-gzip dont-vary

    BrowserMatch ^Mozilla/4 gzip-only-text/html
    BrowserMatch ^Mozilla/4.0[678] no-gzip
    BrowserMatch bMSIE !no-gzip !gzip-only-text/html

</VirtualHost>
enable site:
a2ensite pnet.dev.lo.conf
systemctl restart apache2.service
Check Apache configuration
apachectl configtest
result:
AH00558: apache2: Could not reliably determine the server's fully qualified domain name, using 127.0.1.1. Set the 'ServerName' directive globally to suppress this message
Syntax OK
To avoid this warning
nano /etc/apache2/conf-available/fqdn.conf
add ServerName directive:
ServerName www.dev.lo
then
a2enconf fdqn
systemctl restart apache2.service
Local domains from your workstation
To use local domains from your workstation, add records to file /etc/hosts. In my case:
sudo nano /etc/hosts
here are some examples:
127.0.0.1   localhost
127.0.1.1   athena

# The following lines are desirable for IPv6 capable hosts
::1     ip6-localhost ip6-loopback
fe00::0 ip6-localnet
ff00::0 ip6-mcastprefix
ff02::1 ip6-allnodes
ff02::2 ip6-allrouters

# Local domains
192.168.1.103   www.dev.lo
192.168.1.103   dev.lo
192.168.1.103   another-sub-domain.dev.lo
Restart Apache
systemctl restart apache2.service
php7
Installation
Using apt-get:
apt-get install php7.0
Configuration principles
Main configuration file (as Apache module): /etc/php/7.0/apache2/php.ini. DO NOT EDIT this file. Add your configuration to /etc/php/7.0/apache2/conf.d/. Example:
nano /etc/php/7.0/apache2/conf.d/my-config.ini
systemctl restart apache2.service
Main configuration file (CLI command line interface): /etc/php/7.0/cli/php.ini. DO NOT EDIT this file. Add your configuration to /etc/php/7.0/cli/conf.d/.
phpinfo
Create a file phpinfo.php in your web server (NOT public available for production servers) like this example:
nano /var/www/html/webadmin/phpinfo.php
add
<?php phpinfo() ?>
Use this file to check php configuration (as Apache module). Example:
http://www.dev.lo/webadmin/phpinfo.php
Error log
Enable php error log. Log file must be writable from Apache. So:
mkdir /var/log/php
chown www-data /var/log/php
Create configuration file:
nano /etc/php/7.0/apache2/conf.d/99_error_log.ini
set:
error_log = /var/log/php/php_errors.log
Remember to rotate /var/log/php/php_errors.log:
nano /etc/logrotate.d/php
add the following:
/var/log/php/php_errors.log {
        weekly
        missingok
        rotate 4
        notifempty
        create
}
Php extensions
Install the php extensions/modules you need. This is a testing server, so I installed many extensions for various projects.
Find the full list here.
After installing an extension and restarting Apache, you will see the relevant changes to phpinfo.
To check installed php extensions from command line, use:
php -m
mysql
apt-get install php7.0-mysql
postgresql
apt-get install php7.0-pgsql
intl
apt-get install php7.0-intl
mbstring
apt-get install php7.0-mbstring
curl
apt-get install php7.0-curl
zip
apt-get install php7.0-zip
xml
apt-get install php7.0-xml
gd
apt-get install php7.0-gd
mcrypt
apt-get install php7.0-mcrypt
gettext
apt-get install php-gettext
memcached
apt-get install php-memcached
Harden php
Create a configuration file
nano /etc/php/7.0/apache2/conf.d/99_security.ini
with contents
allow_url_include = Off
allow_url_fopen = Off
session.use_only_cookies = 1
session.cookie_httponly = 1
expose_php = Off
display_errors = Off
register_globals = Off
disable_functions = shell_exec, escapeshellarg, escapeshellcmd, passthru, proc_close, proc_get_status, proc_nice, proc_open,proc_terminate
(settings may vary according to your needs, especially for “disable_functions”).
Restart Apache
systemctl restart apache2.service
Install database manager
phpMyAdmin and adminer are popular. I prefer adminer:
You may use apt-get install adminer, but I prefer
to download the latest package
mkdir /var/www/html/wedamin/adminer
cd /var/www/html/wedamin/adminer
wget https://github.com/vrana/adminer/releases/download/v4.3.1/adminer-4.3.1-en.php
In production servers restrict access to this directory using .htaccess
Install memcached (optional)
Using apt-get:
apt-get install memcached
Read more at Memcached Installation and Configuration with PHP on Debian Server
Install phpMemcachedAdmin (optional):
cd /var/www/html/webadmin/
wget https://blog.elijaa.org/wp-content/uploads/2017/03/phpmemcachedadmin-1.3.0.tar.gz
tar xvzf phpmemcachedadmin-1.3.0.tar.gz
mv phpmemcachedadmin-1.3.0 phpMemcachedAdmin
cd phpMemcachedAdmin/Config
cp Memcache.sample.php Memcache.php
chmod g+w Memcache.php
chmod o+w Memcache.php
cd ..
chmod 777 Temp
In production servers restrict access to this directory using .htaccess
Restart Apache
systemctl restart apache2.service
Almost
ready...
Perform (again) a full system update
Using apt-get:
apt-get update && apt-get -V upgrade
Update files database (again)
Use:
updatedb
Enjoy Debian 9 Stretch!

Summary of
important changes concerning php7 and MariaDB
PHP7 incompatibilities to 5.6 (and solutions)
Problems I encountered in the various webapps I manage
- php-gettext does not translate correctly (returns the en_US translation for any language)
- SwiftMailer errors
2017-04-17 15:26:35: [ErrNo=16384 (UNKNOWN ERROR), File=/path/to/SwiftMailer_v5.4.6/lib/classes/Swift/Transport/MailTransport.php, Line=45] The Swift_Transport_MailTransport class is deprecated since version 5.4.5 and will be removed in 6.0. Use the Sendmail or SMTP transport instead.

2017-04-17 15:26:35: [ErrNo=2 (WARNING), File=/path/to/SwiftMailer_v5.4.6/lib/classes/Swift/Transport/MailTransport.php, Line=259] escapeshellcmd() has been disabled for security reasons
- phpass errors
[17-Apr-2017 17:05:26 UTC] PHP Deprecated: Methods with the same name as their class will not be constructors in a future version of PHP; PasswordHash has a deprecated constructor in /path/to/phpass-0.3/PasswordHash.php on line 27
Solutions, working in my case
- I replaced
putenv("LC_ALL=$locale");with
putenv("LANGUAGE=$locale");see more at this post
- I replaced in my code
$transport = Swift_MailTransport::newInstance();
with
$transport = Swift_SendmailTransport::newInstance('/usr/sbin/sendmail -bs'); - I replaced in class PasswordHash
function PasswordHash($iteration_count_log2, $portable_hashes)
with
function __construct($iteration_count_log2, $portable_hashes)
Moving from MySQL to MariaDB
MariaDB is a drop-in replacement for MySQL (so far, at least). You will not notice remarkable differences in everyday work. The commands are actullay the same. The SQL code absolutely compatible.
In Debian 9 Stretch, I prefer to revert the default authentication with Operating System user (unix_plugin) to classic authentication using password.
Related Posts
You may also be interested in
- Debian 8 Jessie Dedicated Web Server Setup Step by Step
- Debian 7 Wheezy Dedicated Web Server Setup Step by Step
- Debian 7 Wheezy RC1 LAMP Server Setup Step by Step
- PHP and Javascript Internationalization using Gettext and Poedit
- Memcached Installation and Configuration with PHP on Debian Server
- How to Install PostgreSQL 9.3 on Debian 7 Wheezy
- Is it time to Remove MySQL in favor of MariaDB in Production Servers?
- How To Setup Virtualbox on Ubuntu 16.04
- Gmail smarthost with Exim4 on Debian
- When to Restart Services or Reboot after Update on Debian or Ubuntu
- Speed Up your Website with Gzip Compression
- Simple Steps to Update a Debian Server
- Five Reasons to use Debian as a Server
Entrepreneur | Full-stack developer | Founder of MediSign Ltd. I have over 15 years of professional experience designing and developing web applications. I am also very experienced in managing (web) projects.